6 Tips for Riding the Rope Tow – Beginner Snowboarding
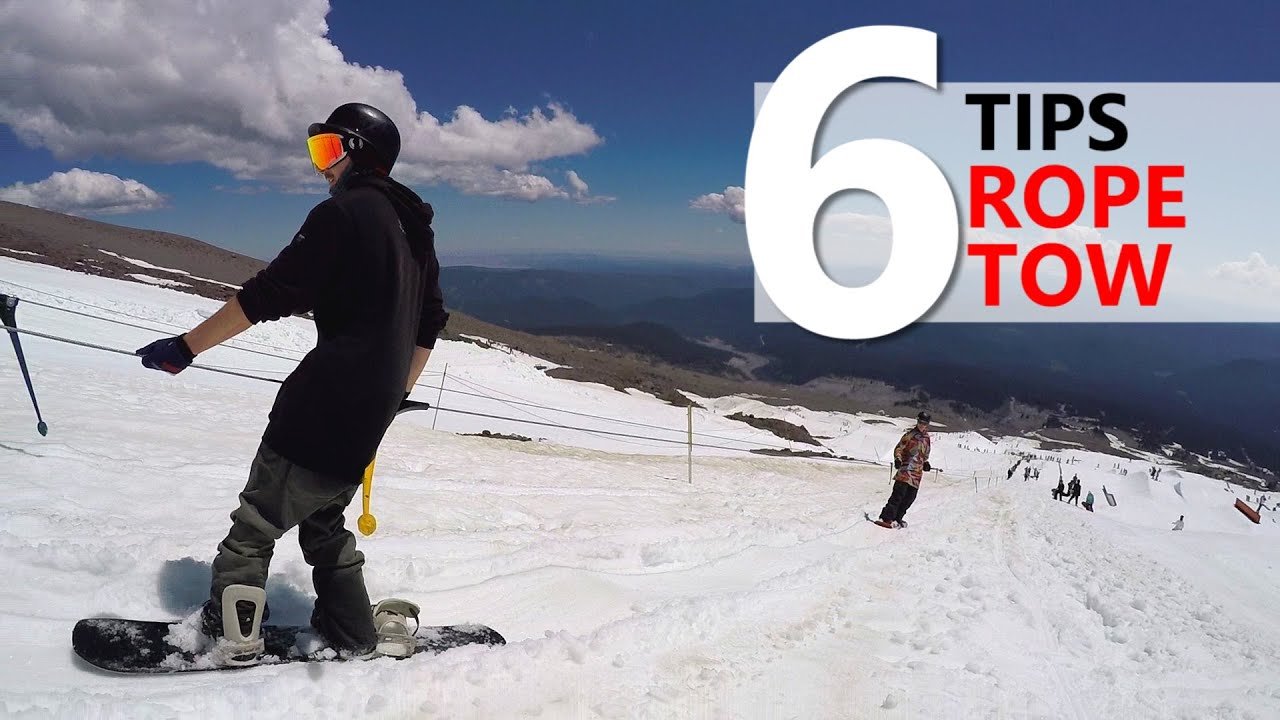
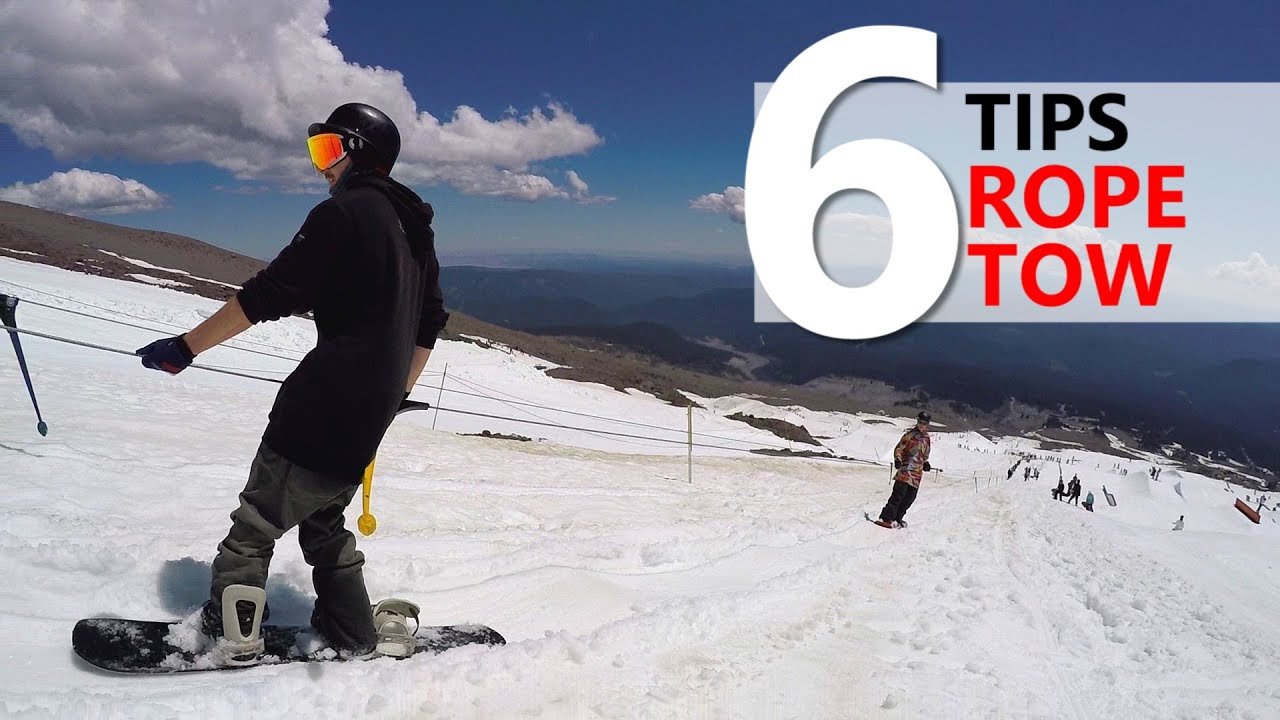
In the video by SnowboardProCamp, the author provides 6 tips for beginners on how to ride the rope tow while snowboarding. The first tip suggests taking a few steps to get the snowboard moving in the same direction as the rope tow, making it easier to grab onto. The second tip emphasizes the importance of figuring out if the rope tow will be on the frontside or backside of the snowboard. Other tips include avoiding the mistake of holding onto the handle from behind, being cautious of the rut created by the snowboards along the rope tow, giving the rope a slight pull when getting off to avoid hitting oneself, and preparing by practicing skating and walking uphill on the snowboard. With these helpful tips, beginners can navigate the rope tow more smoothly and enjoy their snowboarding experience.

Tip 1: Get Momentum
When it comes to riding the rope tow, one of the first tips is to build up some momentum before grabbing onto the tow rope. This can be done by taking a few steps in the same direction as the rope tow. By doing this, it becomes easier to grab onto the rope and get on it smoothly. Without momentum, it can be more difficult to get started and can result in a jerky start. So, take a few steps to build up that momentum and make your ride on the rope tow much easier.
Taking a few steps to build momentum
Getting your snowboard moving in the same direction as the rope tow before grabbing onto it can make the process much smoother. By taking a few steps, you create some momentum for yourself and make it easier to get on the rope tow. This way, you won’t have to rely solely on the rope’s pulling force to get moving. It’s a simple yet effective technique that can make a big difference in your experience on the rope tow.
Benefits of building momentum
The main benefit of building momentum before grabbing the rope tow is that it allows you to get on smoothly and avoid any sudden jerks or stops. When you have some forward motion, it becomes easier to synchronize your movements with the rope tow’s pulling force. Additionally, building up momentum can also help you maintain better balance and control as you start riding the tow.
Tip 2: Determine Frontside or Backside
Before approaching the rope tow, it’s important to determine whether it will be on the frontside or backside of your snowboard. This depends on your stance and can make a difference in how you approach and hold onto the rope.
Frontside vs. backside
Frontside refers to the side of your snowboard that is facing downhill, while backside refers to the side that is facing uphill. The distinction between frontside and backside is important because it affects how you position yourself and grab onto the rope tow. Knowing which side the tow will be on allows you to approach it with the correct foot and hand placement.
Adjusting your approach
Once you’ve determined whether the rope tow is on the frontside or backside, you can adjust your approach accordingly. For example, if the rope tow is on your frontside, you will want to push off with your back foot to generate momentum uphill. On the other hand, if the rope tow is on your backside, you will want to push off with your front foot. By adapting your approach, you can ensure a smoother start to your ride on the rope tow.
Tip 3: Avoid Holding From Behind
One common mistake that beginners make when riding the rope tow is holding onto the handle from behind. This can make it harder to hold on until the top and stay on top of your snowboard.
The problem with holding from behind
When you hold onto the rope tow handle from behind, it can lead to several issues. Firstly, it can tire you out more quickly, as it requires you to lean forward and use more energy to hold on. Secondly, it can cause your nose to dive into the snow, increasing the risk of falling. Lastly, holding from behind can make it more difficult to maintain your balance and stay on top of your snowboard.
The correct way to hold onto the rope tow
Instead of holding onto the handle from behind, it is recommended to hold onto it with your arms and body relaxed and leaning slightly back. This allows you to use the rope’s pulling force to your advantage and maintain better balance. By avoiding the mistake of holding from behind, you can make your ride on the rope tow much smoother and more enjoyable.
Tip 4: Watch Out for Ruts
When riding the rope tow, it’s important to be aware of the ruts that can form along the path. These ruts are created by the repeated use of the tow rope by multiple riders and can affect your ride if not properly managed.
Going with the flow
When you encounter a rut along the rope tow, it’s best to try and go with the flow of the rut rather than fight against it. This means staying sideways on your snowboard and using your knees to absorb any bumps or uneven terrain. By going with the flow, you can maintain better stability and avoid getting caught or tripped up by the rut.
Using your knees as shock absorbers
To navigate the ruts more smoothly, it’s important to use your knees as shock absorbers. By bending your knees and using them to absorb any bumps or jolts caused by the ruts, you can maintain better balance and control. This technique can also help reduce the strain on your legs and lower back, making your ride on the rope tow more comfortable.
Tip 5: Give a Pull as You Get Off
As you approach the top of the rope tow and prepare to get off, it’s important to give the rope a little pull to avoid the handle hitting you in the back. This simple technique can help you disengage from the rope tow smoothly and prevent any unnecessary discomfort or potential injuries.
Avoiding the handle hitting you
If you don’t give the rope a little pull as you get off, the handle can end up hitting you in the back, especially if it’s longer than your hip. This can be uncomfortable and potentially painful, so it’s best to take the precaution of giving the rope a small pull to distance yourself from the handle before disengaging completely.
Ensuring a smooth disengagement
By giving the rope a small pull as you get off, you create a bit of space between yourself and the handle. This allows you to disengage smoothly without any sudden jerks or jolts. It’s a simple action that can make a difference in the overall experience of riding the rope tow.
Tip 6: Practice Skating and Walking Uphill
To prepare yourself for riding the rope tow, it’s beneficial to practice skating and walking uphill on your snowboard. These skills can improve your balance, coordination, and overall confidence when it comes to using the rope tow.
Skating
Skating refers to the act of moving on a snowboard without using the bindings. By practicing skating, you can become more comfortable and proficient in maneuvering your board. Skating involves pushing with one foot while gliding on the other, simulating the movements needed to use the rope tow. By dedicating some time to practicing skating, especially if you’re a beginner, you can develop a solid foundation of balance and control.
Walking uphill
Walking uphill on your snowboard is another skill that can come in handy when riding the rope tow. By practicing walking uphill, you can strengthen your legs and improve your endurance. This is because walking uphill requires more effort and energy compared to riding downhill. By incorporating uphill walking into your snowboarding practice, you can better prepare yourself for the physical demands of using the rope tow.
Conclusion
Riding the rope tow may seem intimidating at first, but with these 6 tips, you can make it a much easier and enjoyable experience. Remember to build up momentum before grabbing onto the rope, determine whether it’s on the frontside or backside of your board, and avoid holding onto the handle from behind. Be mindful of the ruts and go with the flow, give a small pull as you get off to avoid any discomfort, and practice skating and walking uphill to improve your skills and confidence. By implementing these tips, you’ll be able to navigate the rope tow with ease and have more fun on the slopes. Happy snowboarding!
