
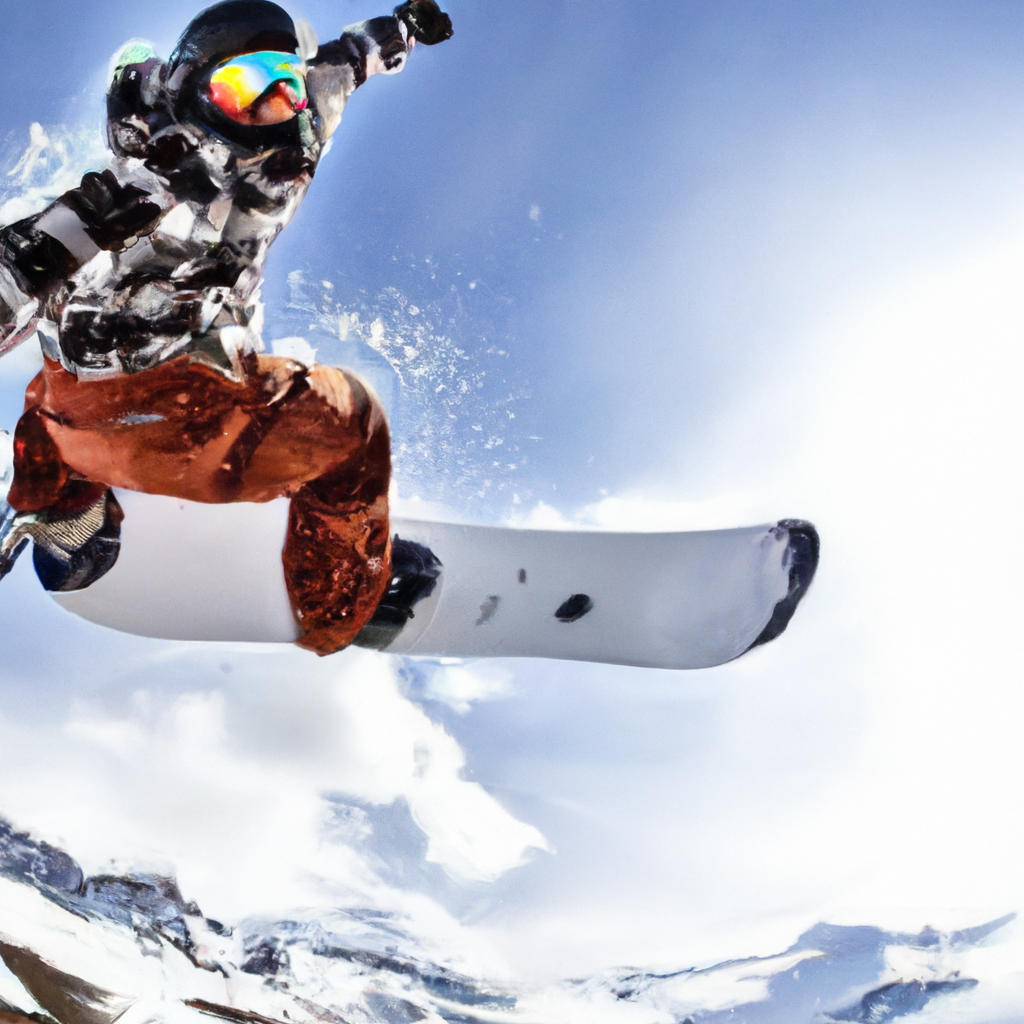
Teaching Snowboarder How to Ride Switch, Ollie & Carve
In this article, the author introduces a video titled “Teaching Snowboarder How to Ride Switch, Ollie & Carve” by SnowboardProCamp. The video features the author snowboarding in Cardrona Resort in New Zealand and giving tips to a local snowboarder named NAA on riding switch, ollies, and carves. The author mentions that it is a fun experience to ride with a local and witness their progression. The article includes a detailed transcript of the video, discussing topics such as switch turns, carving techniques, and quick turns for park riding. The author emphasizes the importance of practicing and taking it one step at a time to improve snowboarding skills.
Teaching Snowboarder How to Ride Switch

Introduction
Learning to ride switch is an essential skill for snowboarders. Riding switch means riding with your non-dominant foot forward, which can feel challenging at first. However, with practice and some helpful tips, you can become comfortable riding switch and expand your repertoire of tricks and maneuvers.
Tips for Riding Switch
To start riding switch, it’s important to have a good understanding of your regular riding stance. This will help you make a smoother transition to switch riding. Here are a few tips to keep in mind:
-
Body Position: Maintain a balanced and centered stance on your snowboard. Keep your weight evenly distributed between both feet.
-
Line of Sight: Look in the direction you want to go. This will help you maintain control and stay aligned with your board.
-
Practice on Easy Terrain: Begin by practicing switch riding on flat terrain or gentle slopes. This will allow you to focus on your technique without the added challenge of steep slopes.
-
Use Your Upper Body: Engage your upper body by using it to initiate turns and maintain stability. By twisting your upper body slightly in the direction you want to go, you can help guide your board.
-
Gradual Progression: Start with small, controlled turns and gradually increase your speed and intensity as you become more comfortable. Remember, riding switch is all about building confidence and muscle memory.
Switch Turns
Switch turns are an essential component of riding switch. By mastering switch turns, you can link your movements and maintain control while riding in this non-dominant stance. Here’s a step-by-step guide to performing switch turns:
-
Start Sliding: Begin by sliding on your board in switch stance. Make sure your weight is evenly distributed between both feet.
-
Initiate the Turn: To start the turn, shift your weight slightly onto your toe edge. This will allow you to guide your board in the desired direction.
-
Face the Bottom: As you continue the turn, face the bottom of the slope and let your board go straight. This will help you maintain control and stability.
-
Look Up Top: As your board goes straight, shift your gaze towards the top of the slope. This will help you maintain your balance and prepare for the next turn.
-
Repeat the Process: To link your turns, continue this process of shifting weight, facing the bottom, and looking up top. Gradually increase your speed and the intensity of your turns as you become more comfortable.
Remember, practicing switch turns will help you build muscle memory and improve your overall riding skills. Be patient with yourself and don’t be afraid to start with small, controlled turns before progressing to more challenging maneuvers.
Repetition of Switch Turns
Repetition is key when it comes to learning any new skill, including riding switch. By consistently practicing switch turns, you can gradually improve your technique and build confidence in your ability to ride switch. Here are a few tips for incorporating repetition into your practice sessions:
-
Set Goals: Start each practice session with a specific goal in mind. For example, aim to complete a certain number of switch turns or focus on improving your technique in a particular area.
-
Break It Down: If you’re struggling with a specific aspect of switch turns, break it down into smaller, more manageable steps. Focus on one component at a time until you feel comfortable before moving on to the next.
-
Vary Your Terrain: As you become more comfortable with switch turns, challenge yourself by practicing on different types of terrain. This will help you adapt to different conditions and improve your overall riding ability.
-
Seek Feedback: Don’t be afraid to ask for feedback from experienced riders or instructors. They can provide valuable insights and tips to help you improve your switch riding technique.
Remember, mastering switch turns takes time and practice. Be patient with yourself and celebrate each small victory along the way. With consistency and dedication, you’ll soon be riding switch with confidence.
Teaching Snowboarder How to Ollie
Introduction
The ollie is one of the fundamental tricks in snowboarding. It involves using your legs and the flex of your snowboard to propel yourself into the air. Learning how to ollie can open up a world of possibilities for tricks and maneuvers on the slopes. Here’s a guide to help you master the ollie.
Preparation for Ollie
Before attempting an ollie, it’s important to ensure you have the proper setup and technique. Here are a few key steps to prepare for an ollie:
-
Stance: Position your feet shoulder-width apart, with your front foot slightly angled towards the nose of the snowboard. Your back foot should be centered on the tail.
-
Bend Your Knees: To generate power for your ollie, start by bending your knees and crouching down slightly. This will allow you to spring up and generate upward momentum.
-
Hands and Arms: Keep your hands in a relaxed position, either at your sides or slightly in front of you. Use your arms to help with balance and control.
-
Weight Distribution: Shift your weight slightly towards your back foot. This will help you load up the tail of your snowboard and prepare for the ollie.
Executing the Ollie
Once you’re properly prepared, it’s time to execute the ollie. Follow these steps to perform a successful ollie:
-
Pop: With your knees still bent, quickly extend your legs and push down with your back foot. This motion is known as the “pop” and will generate the energy needed to launch yourself into the air.
-
Leveling: As you pop, simultaneously bring your front foot up towards the nose of your snowboard. This will help level out your board in the air and maintain control.
-
Tucking: Once your board is level, use your front foot to tuck your knees up towards your chest. This compact position will help you achieve greater height and control.
-
Landing: As you reach the peak of your ollie, prepare for the landing by extending your legs and leveling out your board. Aim to land with your knees slightly bent to absorb the impact.
Practice and Progression
As with any trick, mastering the ollie requires practice and repetition. Start by practicing on flat terrain or small jumps before progressing to larger features. Here are a few tips to help you progress:
-
Build Confidence: Start with small ollies and gradually increase the height and distance as you become more comfortable. Focus on your technique and form before attempting more challenging maneuvers.
-
Video Analysis: Record yourself performing ollies and analyze your technique. Look for areas of improvement and compare your movements to experienced riders or instructional videos.
-
Visualize Success: Before attempting an ollie, visualize yourself successfully completing the trick. This mental preparation can help build confidence and improve your overall performance.
-
Seek Feedback: Don’t be afraid to ask for feedback from experienced riders or instructors. They can provide valuable insights and tips to help you improve your ollie technique.
Remember, mastering the ollie takes time and practice. Be patient with yourself and celebrate each small improvement. With dedication and perseverance, you’ll soon be soaring through the air with confidence.
Teaching Snowboarder How to Carve
Introduction
Carving is an advanced snowboarding technique that involves making precise, controlled turns with the edges of your snowboard. Learning to carve can greatly enhance your riding experience, allowing you to navigate the slopes with speed and style. Here’s a comprehensive guide to help you master the art of carving.
Starting with Heel Carves
Heel carves are a great starting point for learning to carve. Here’s a step-by-step process to help you get started:
-
Body Position: Start by positioning yourself on your snowboard with your knees slightly bent and your weight centered.
-
Toe Edge Engagement: To initiate a heel carve, shift your weight onto your toes by pressing down on the toe edge of your snowboard. This will engage the edge and prepare you for the turn.
-
Bank and Lean: As you begin the turn, lean your body in the direction of the carve. This will help you maintain balance and control throughout the maneuver.
-
Follow Through: Complete the turn by allowing your snowboard to follow the arc of the carve. Maintain your body position and continue leaning into the turn.
-
Repeat: Practice heel carves on both sides of the slope, gradually increasing your speed and intensity as you become more comfortable.
Progressing to Toe Carves
Once you’ve mastered heel carves, you can progress to toe carves. Here’s a step-by-step process to help you advance your carving skills:
-
Body Position: Position yourself on your snowboard with your knees slightly bent and your weight centered.
-
Heel Edge Engagement: To initiate a toe carve, shift your weight onto your heels by pressing down on the heel edge of your snowboard. This will engage the edge and prepare you for the turn.
-
Bank and Lean: Lean your body in the direction of the carve as you begin the turn. This will help you maintain balance and control throughout the maneuver.
-
Follow Through: Allow your snowboard to follow the arc of the carve, maintaining your body position and continuing to lean into the turn.
-
Repeat: Practice toe carves on both sides of the slope, gradually increasing your speed and intensity as you become more comfortable.
Techniques for Carving
Here are a few additional techniques to keep in mind as you refine your carving skills:
-
Edge Control: Pay attention to your edge control and make sure you’re fully engaging the edges of your snowboard. This will provide the necessary grip and control during the carve.
-
Weight Distribution: Keep your weight centered between your feet during the carve to maintain balance and control. Avoid leaning too far forward or backward, as this can disrupt your carving technique.
-
Upper Body Alignment: Align your upper body with your snowboard during the carve. This will help with balance and control, allowing you to execute precise and fluid turns.
-
Smooth Transitions: Focus on making smooth transitions between turns. Avoid abrupt movements or jerky shifts, as this can disrupt the flow of your carving technique.
-
Uphill Hand Positioning: Keep your uphill hand slightly ahead of your body during the carve. This will help maintain balance and stability as you navigate the slope.
Carving on Flat Terrain
Practicing carving on flat terrain can be a great way to refine your technique and build confidence. Here’s a step-by-step process to help you carve on flat terrain:
-
Find a Flat Area: Look for a flat area on the slope where you can practice carving without the added challenge of inclines or declines.
-
Body Position: Position yourself on your snowboard with your knees slightly bent and your weight centered.
-
Initiate the Carve: Engage the edges of your snowboard by shifting your weight onto your toes or heels, depending on the desired carve.
-
Follow Through: Allow your snowboard to follow the arc of the carve, maintaining your body position and continuing to lean into the turn.
-
Repeat: Practice carving on flat terrain, gradually increasing your speed and intensity as you become more comfortable.
Following a Lead
Following a more experienced rider or instructor can be a helpful way to learn and improve your carving technique. Here are a few tips for following a lead:
-
Choose a Skilled Rider: Look for a rider who demonstrates good technique and control while carving. Observing their movements and following their lead can help you refine your own carving skills.
-
Maintain a Safe Distance: Stay at a safe distance behind the lead rider, allowing enough space to observe their movements and transitions.
-
Mirror Their Movements: As the lead rider executes turns and transitions, try to mirror their movements as closely as possible. Pay attention to their body positioning, edge engagement, and overall technique.
-
Seek Feedback: After following a lead, ask for feedback from the more experienced rider or instructor. They can provide valuable insights and tips to help you improve your carving technique.
Remember, mastering carving takes time and practice. Be patient with yourself and celebrate each small improvement. With dedication and perseverance, you’ll soon be carving up the slopes with style and precision.
Conclusion
Summary of Skills Learned
In this comprehensive guide, we’ve covered several essential snowboarding skills, including riding switch, ollies, and carving. By mastering these skills, you can enhance your overall riding experience and open up a world of possibilities for tricks, jumps, and maneuvers on the slopes.
Progression and Park Readiness
Through consistent practice and dedication, you can progress in your snowboarding journey. Start with the basics, such as riding switch and learning to ollie, before advancing to more advanced techniques like carving. As you gain confidence and improve your skills, you’ll be ready to tackle terrain parks and more challenging features on the mountain.
Remember, safety should always be a top priority while snowboarding. Always wear appropriate protective gear, follow resort guidelines, and be aware of your surroundings. Practice in controlled environments and seek professional instruction when necessary.
Enjoy the journey of learning and progressing as a snowboarder. With passion, perseverance, and a willingness to push your limits, you’ll continue to grow and excel in this exhilarating sport.
Hi there, I'm Jesse Hull, the author behind AK Fresh Pow. "Shred The Knar There Bud" is not only our tagline, but also our way of life. As a Husband and Father, I embrace the thrill of conquering the slopes. Being a retired Infantry Paratrooper has taught me discipline and a love for adventure. Now, as a new snowboarder/skier, I'm embracing the freedom and adrenaline rush that comes with it. Alongside these passions, I am a full-time student at Alaska Pacific University in Anchorage, Alaska, continuously expanding my knowledge and skills. Join me on this exciting journey as we explore the beauty of the snowy mountains together.