How To Link Beginner Snowboard Turns
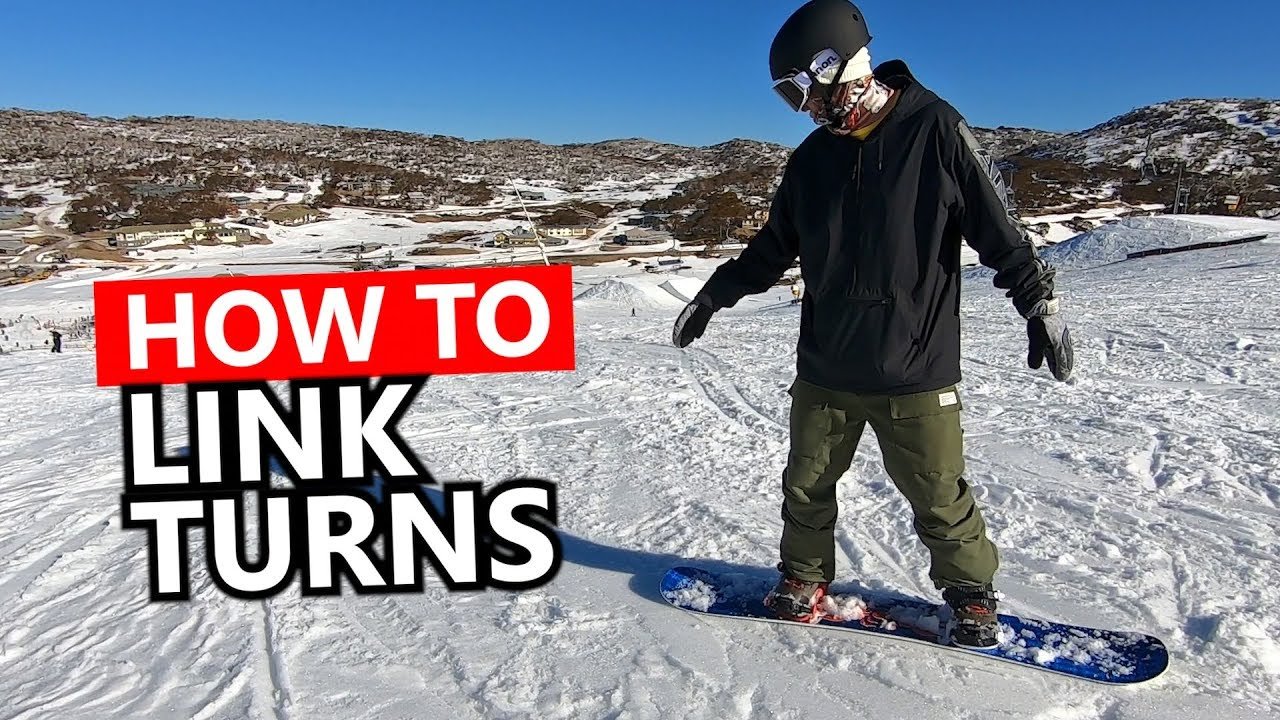
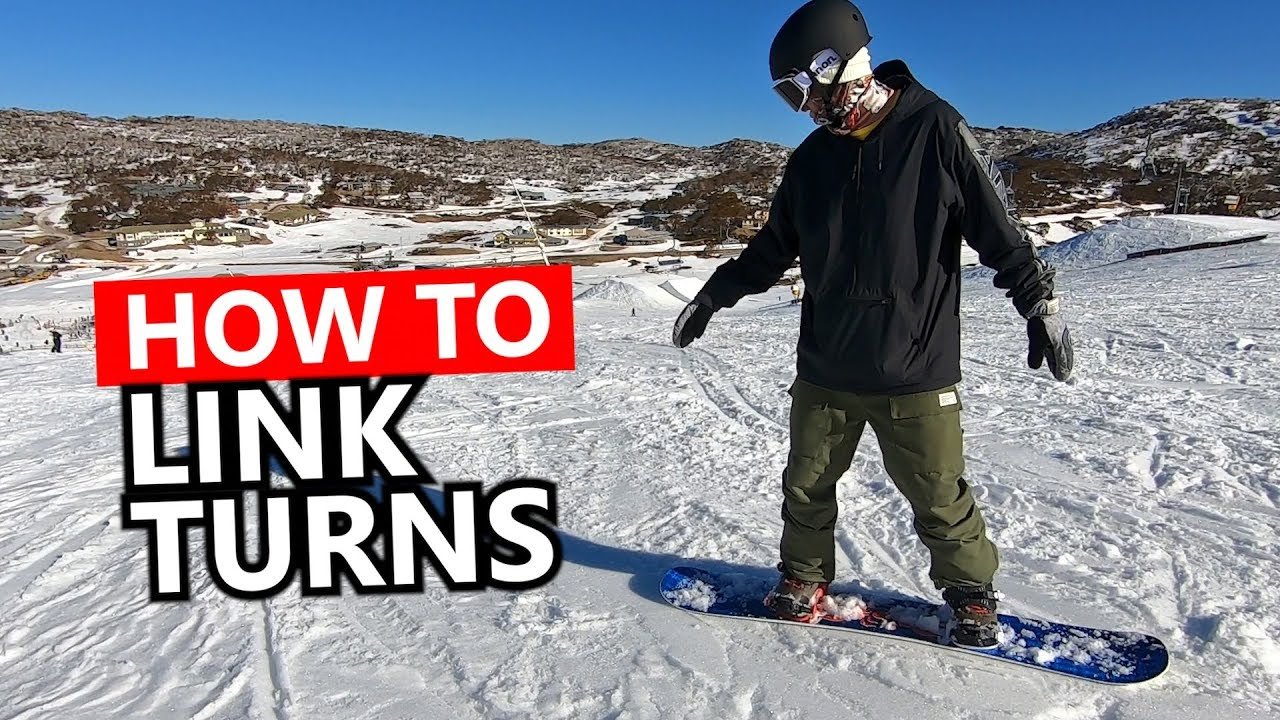
In the video “How To Link Beginner Snowboard Turns” by SnowboardProCamp, Kevin offers some helpful tips for beginners looking to progress and start linking their turns. Before attempting to link turns, it’s important to first feel confident in completing single heel and toe turns. The key to successfully linking turns is allowing your snowboard to run across the slope at the end of each turn, which will then transition smoothly into the next turn. Kevin also addresses the issue of having too much speed around turns and suggests spraying some snow out the side to help control speed.
Overall, this video provides valuable guidance for beginner snowboarders looking to take the next step in their progression and transition into intermediate riding. With these tips in mind, viewers can start linking their turns and experience the exhilarating feeling of progressing on their snowboards.
Tips for Linking Beginner Snowboard Turns
For beginners, linking turns can be one of the final challenges in progressing as a snowboarder. Before attempting to link turns, it is crucial to first master single heel and toe turns. Once you feel confident with these basic turns, you can start working on linking them together smoothly and seamlessly.
Confidence with Single Turns
Mastering Heel Turns
To begin linking turns, it is essential to have a strong grasp of heel turns. Heel turns involve shifting your weight onto your heels and using your back foot to initiate the turn. Start by practicing on a gentle slope, and gradually increase the steepness as you become more comfortable. Remember to keep your body aligned with the snowboard and maintain a relaxed posture throughout the turn.
Completing Toe Turns
After becoming proficient in heel turns, the next step is to focus on mastering toe turns. Toe turns require shifting your weight onto your toes and using your front foot to initiate the turn. Just like with heel turns, it is important to maintain proper alignment and a relaxed posture. Practice toe turns on a gradual slope until you feel confident in your ability to execute them smoothly.
Riding Across the Slope
Once you have mastered heel and toe turns individually, it’s time to start linking them together by riding across the slope. This technique will help you maintain your momentum and prepare for the next turn.
Continuing Across the Slope on Heel Edge
After completing a heel turn, instead of coming to a complete stop, allow your snowboard to continue riding across the slope on its heel edge. This will keep your momentum going and set you up for the next turn. Focus on maintaining balance and control while traversing the slope.
Leading Into the Next Toe Turn
As you ride across the slope on your heel edge, prepare to transition into the next turn. Once you feel stable and in control, shift your weight onto your toes and initiate a toe turn. This seamless transition will allow you to flow smoothly from one turn to the next.
Continuing Across the Slope on Toe Edge
After completing a toe turn, continue riding across the slope on your toe edge. This will once again maintain your momentum and prepare you for the following turn. Remember to stay balanced and keep your body aligned with the snowboard.
Leading Into the Next Heel Turn
As you ride across the slope on your toe edge, prepare to transition into the next turn by shifting your weight back onto your heels. Initiate a heel turn smoothly and with confidence. This continuous flow of linking turns across the slope will help you build momentum and increase your control and confidence as a rider.

Fixing Excessive Speed
When linking turns, some beginners may find themselves experiencing excessive speed, which can feel intimidating and out of control. To address this issue, there are a couple of techniques that can help you regain control and manage your speed effectively.
Spraying Snow Out the Side
One technique to control your speed is to spray some snow out the side during your turns. This involves applying more pressure on the edge of your snowboard, causing the board to slide slightly and release snow. This spraying effect helps to reduce speed, allowing you to continue across the hill and smoothly transition into the next turn. Practice this technique on open slopes until you feel comfortable and confident in your ability to regulate your speed.
Cutting Speed for Better Control
Another effective way to manage speed is by cutting across the slope at a sharper angle during your turns. By turning more directly up the hill, you can slow yourself down and regain control. This technique requires good body rotation and edge control, so make sure to practice on less challenging terrain before attempting it on steeper slopes.
Spraying Snow Out the Side
Spraying snow out the side is a technique used to control speed and maintain control during turns. By applying pressure on the edge of your snowboard and shifting your weight slightly, you can cause the board to release some snow, creating a spraying effect. This technique is especially useful when you find yourself with too much speed around your turns.
Technique to Control Speed
To execute the spraying technique effectively, focus on shifting your weight slightly towards the tail of the board and applying more pressure on the edge you want to spray from. This will cause the board to release snow and create resistance, slowing you down. Practice this technique on gentle slopes until you feel comfortable and in control.
Executing the Spray Effectively
Timing is crucial when executing the spray. Work on finding the right moment in your turn to apply pressure and release the snow. Experiment with different amounts of pressure and weight distribution until you find the right balance that allows you to control your speed effectively. With practice, you will be able to spray out snow confidently and maintain better control during your turns.
Conclusion
Linking beginner snowboard turns requires practice, patience, and confidence. By mastering heel and toe turns, riding across the slope, and effectively managing speed, you can start linking your turns smoothly and progress as a snowboarder. Remember to always prioritize safety and start on slopes that match your skill level. With time and practice, you will gain the skills and confidence necessary to navigate any terrain and enjoy the exhilarating experience of linking turns on a snowboard. Keep pushing yourself, have fun, and stay safe on the slopes!
