
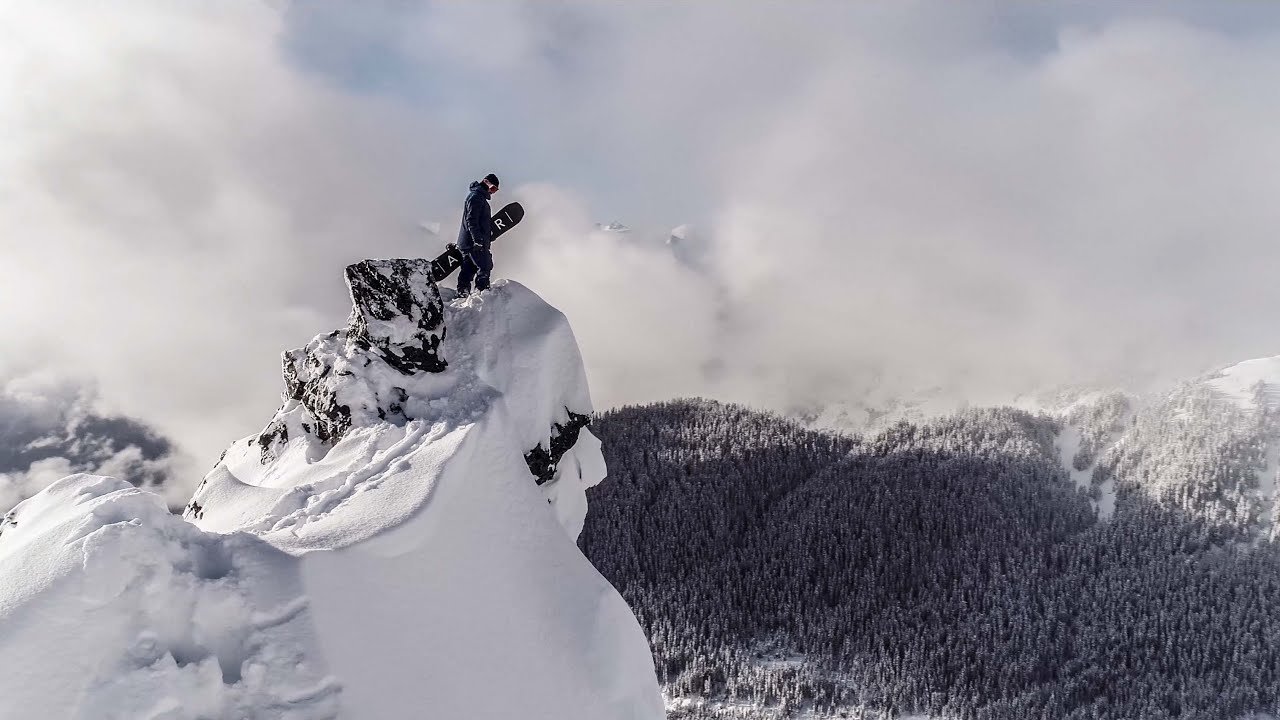
First Step to Carving on a Snowboard
In “First Step to Carving on a Snowboard,” the video by SnowboardProCamp, viewers will learn the initial steps to carving on a snowboard. The main objective of carving is to ride on the edge of the snowboard, leaving behind a clean line in the snow. The video suggests starting by riding across the slope on the snowboard’s edge, making slight turns uphill at the end to control speed. This allows for practicing the necessary skills of getting the edge into the snow and maintaining balance. The video emphasizes the importance of safety, reminding viewers to always look uphill before practicing to ensure no other snowboarders are approaching.
Hosted by Kevin from SnowboardProCamp, the video introduces viewers to the fundamental techniques of carving on a snowboard. The goal is to ride on the snowboard’s edge, creating a clean line in the snow. Kevin advises starting by riding across the slope on the edge of the snowboard, making slight uphill turns at the end to regulate speed. This practice helps develop the necessary skills for maintaining balance and getting the edge into the snow. He emphasizes the importance of safety, reminding viewers to always look uphill to avoid collisions with other riders. Kevin concludes by offering viewers the opportunity to ask questions or share tips in the comment section, and teases future videos on how to link carving turns together.
The goal of carving on a snowboard
Carving on a snowboard is an important skill to master, as it allows riders to leave clean lines on the snow behind them. The goal of carving is to ride on the edge of the snowboard, whether it be the toe edge or the heel edge, and create smooth turns. This not only looks impressive, but it also enhances control and stability while riding. By learning how to carve, snowboarders can navigate the slopes with ease and style.
Practicing carving: riding across the slope
To start practicing carving on a snowboard, it is best to begin by riding across the slope on the snowboard’s edge. This means angling the snowboard so that one edge is in contact with the snow while the other edge is lifted slightly off the ground. By doing this, riders can work on getting a feel for the edge and maintaining balance. Riding across the slope also helps in controlling speed, as turning uphill slightly at the end of the ride can help slow down.
Practicing carving: turning uphill
Another way to practice carving on a snowboard is by turning uphill. This involves riding across the slope and then deliberately turning uphill at the end of the ride, using the snowboard’s edge to initiate the turn. This technique is useful for gaining control over the snowboard and improving balance. By turning uphill, riders can also work on transitioning smoothly between turns and maintaining a consistent speed throughout.

Tips for safe carving practice
When practicing carving on a snowboard, safety should always be a top priority. Before starting, it is important to look uphill to ensure that no other snowboarders are coming. This helps in avoiding collisions and ensures a safe practice session. Additionally, it is advisable to wear appropriate protective gear such as helmets, goggles, and wrist guards. Staying within one’s skill level and being aware of the terrain and weather conditions are essential for a safe carving experience.
Carving on the toe edge: pushing knees forward
To execute a carving turn on the toe edge of a snowboard, riders need to push their knees forward. By pushing the knees towards the snow, the heel edge of the snowboard lifts, and the toe edge digs into the snow. The more the knees are pushed forward, the steeper the angle between the snowboard and the snow, resulting in a tighter turn. By focusing on pushing the knees forward, riders can achieve precise control and carve clean lines on the slope.
Carving on the toe edge: riding with a straight back
To maintain balance and distribute weight correctly while carving on the toe edge, it is important to ride with a straight back. Keeping the back straight ensures that more weight is placed over the toe edge of the snowboard, allowing for better control and stability. If the back is bent forward, too much weight is placed over the snow, causing the toe edge to slide out. By riding with a straight back, riders can maintain the desired edge contact and achieve smoother carving turns.
Carving on the toe edge: centering body between bindings
In addition to pushing the knees forward and maintaining a straight back, it is crucial to center the body between the bindings while carving on the toe edge. This means distributing weight evenly across the toe edge of the snowboard. By doing so, riders can ensure balance and stability throughout the turn. The body acts as a central pivot point, allowing for precise control and facilitating clean lines in the snow.
Carving on the toe edge: combining skills
To achieve optimal carving performance on the toe edge, it is important to combine the above-mentioned skills. By simultaneously pushing the knees forward, riding with a straight back, and centering the body between the bindings, riders can create a harmonious and efficient carving motion. These skills work together to enhance control, stability, and edge contact, resulting in clean lines left on the snow behind them.
Carving on the heel edge: riding with bent knees and hips
Carving on the heel edge of a snowboard requires a slightly different approach. To execute a heel edge carve, riders should ride across the slope with their knees and hips bent, as if they were sitting in a chair. This bending motion at the knees and hips lifts the toe edge of the snowboard and digs the heel edge into the snow. The deeper the rider can sit into the “chair,” the greater the angle between the snowboard and the snow, resulting in sharper turns and cleaner lines.
Conclusion
Carving on a snowboard is a fundamental skill that enhances control, stability, and style while riding. By practicing carving on both the toe edge and the heel edge, riders can master the art of leaving clean lines in the snow. Through a combination of pushing the knees forward, maintaining a straight back, and centering the body between the bindings, snowboarders can achieve smooth and precise carving turns. With consistent practice and a focus on safety, riders can enjoy the thrill and artistry of carving on a snowboard. So get out there, practice your carving skills, and leave your mark in the snow!
Hi there, I'm Jesse Hull, the author behind AK Fresh Pow. "Shred The Knar There Bud" is not only our tagline, but also our way of life. As a Husband and Father, I embrace the thrill of conquering the slopes. Being a retired Infantry Paratrooper has taught me discipline and a love for adventure. Now, as a new snowboarder/skier, I'm embracing the freedom and adrenaline rush that comes with it. Alongside these passions, I am a full-time student at Alaska Pacific University in Anchorage, Alaska, continuously expanding my knowledge and skills. Join me on this exciting journey as we explore the beauty of the snowy mountains together.