
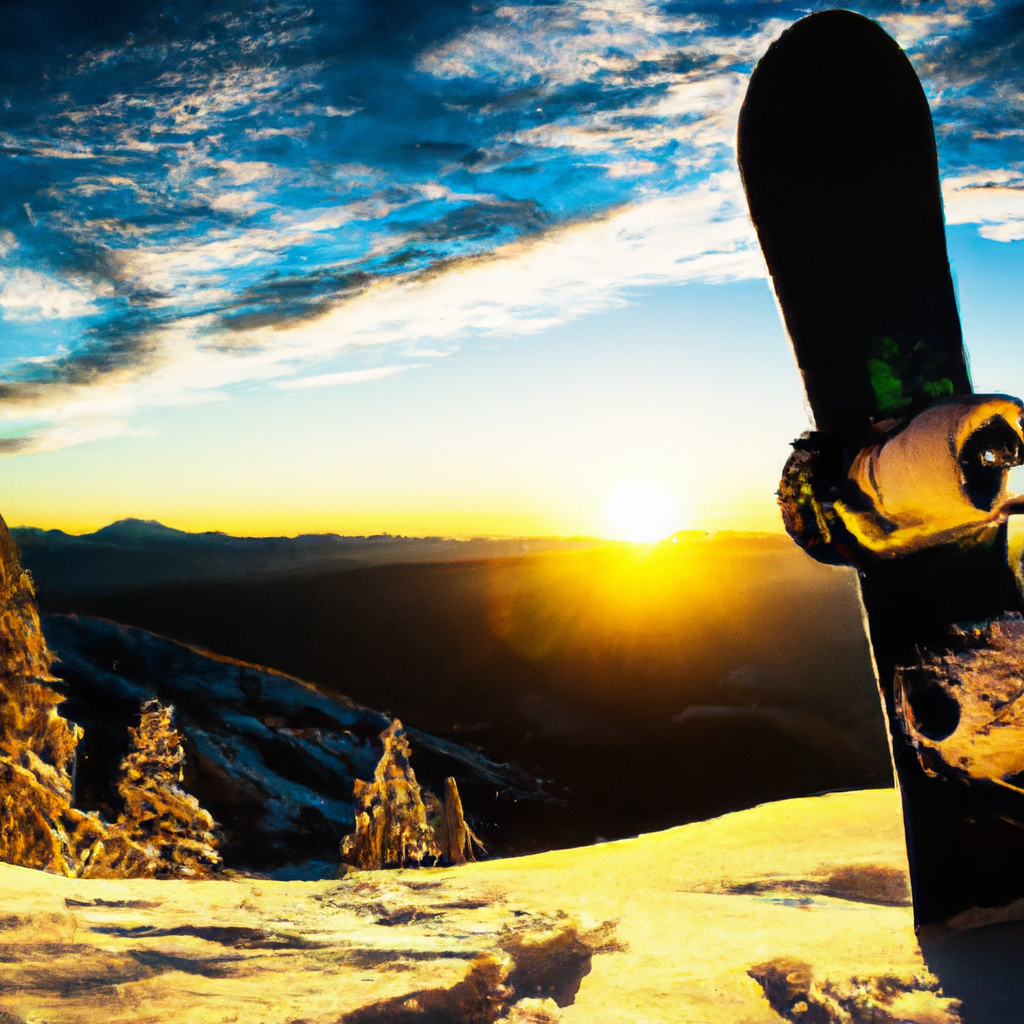
Snowboard Carving Progression Part 1 – Carving Across the Slope
Snowboard ProCamp presents “Snowboard Carving Progression Part 1 – Carving Across the Slope,” a video guide to help snowboarders improve their carving skills. In this video, Kevin provides tips for beginner snowboarders who want to try carving turns. The first step is to find a green run and practice getting the edge of the snowboard into the snow, creating a line behind you in the snow. Kevin demonstrates the technique, emphasizing the importance of looking up the hill for safety. By gradually increasing speed and mastering the angle, snowboarders can progress to linking their carves together and navigating down the slope. Viewers are encouraged to leave questions and comments for Kevin and to stay tuned for more carving videos in the series. So gear up and get ready to carve your way to improvement!
[Paragraph 2] The video, presented by SnowboardProCamp, features Kevin providing advice on progressing with snowboard carving. The first part of the series focuses on doing the first carves across the slope. Kevin suggests starting on a green run, where beginners can practice getting their snowboard’s edge into the snow and create a carving line. He demonstrates techniques for engaging the edge, bending the knees for stability, and maintaining control while carving. Kevin advises taking it slow, looking up the hill for safety, and enjoying the process of learning to carve. If viewers find these tips helpful, they are encouraged to like, subscribe, and leave questions or requests for more carving videos.
Gear
-
Vans High Standard Boots: These boots provide excellent support and comfort for snowboarding. They are designed with high-quality materials to ensure durability and performance on the slopes.
-
Volcom Longo Pants: These pants are specifically designed for snowboarding, offering waterproof and breathable features to keep you dry and comfortable. They also have ample insulation for added warmth during cold weather conditions.
-
Jones Descent Backpack: This backpack is perfect for carrying all your snowboarding essentials, including extra layers, snacks, and water. It has multiple compartments and straps to secure your gear and provide easy access when needed.
-
Blackstrap Facemask: This facemask is essential for protecting your face from the elements. It is made from moisture-wicking and breathable fabric, ensuring maximum comfort while snowboarding.
Introduction
Snowboarding is an exhilarating sport that requires proper technique and gear. In this article, we will explore some essential tips for mastering your first carves on a snowboard. Whether you are a beginner or looking to improve your carving skills, these tips will help you progress and enjoy the thrill of gliding across the slopes.

Tips for First Carves
If you are new to snowboarding, it’s crucial to start with the basics and get a feel for the sport before attempting more advanced maneuvers. Here are some tips to help you with your first carves:
Start on a green run
A green run on the slopes is perfect for beginners to practice their first carves. These runs are gentle and have a lesser slope, making them ideal for getting comfortable with turning and balancing on a snowboard.
Practice getting the edge of the snowboard into the snow
One of the key elements of carving is getting the edge of your snowboard to engage with the snow. Practice focusing on this movement by sliding your snowboard across the slope, gradually applying pressure on the edge to create a line in the snow.
Draw a line behind you in the snow
As you ride across the slope, concentrate on creating a distinct line behind you in the snow. This line will indicate that you have successfully carved your snowboard and can serve as a visual guide for improvement.
Carving Across the Slope
Once you have familiarized yourself with the basics, it’s time to tackle carving across the slope. Here are the steps to master this technique:
Look up the hill
Before starting your carve, make sure to look up the hill to ensure no other riders are approaching. Safety should always be a priority on the slopes.
Slide the board across
Let your snowboard slide across the slope as you prepare to carve. This will allow you to set up for the maneuver.
Engage the edge of the snowboard with the snow
As you begin the carving motion, focus on getting the edge of your snowboard to engage with the snow. This will give you control and stability throughout the carve.
Bend knees towards the snow
To create a smooth carving line, bend your knees towards the snow. This movement helps maintain balance and control while turning.
Move weight onto toes and create a line
Shift your weight onto your toes as you initiate the carve. This will help create a line in the snow and improve the carving motion.
Bend hips, knees, and ankles on heels to create an angle
When carving on your heels, bend your hips, knees, and ankles to create an angle. This seated position provides stability and control during the maneuver.
Look up to check for other riders
Always keep your head up and look ahead to ensure the slope is clear of other riders. This is essential for safety and avoiding collisions.
Lift toes to create a line
As you complete the carve, lift your toes to create another line in the snow. This will give a visual indication of your successful carve.
Increase speed and bend more to create a deeper carving line
As you become more comfortable with carving, gradually increase your speed and bend your body more to create a deeper carving line. This will enhance the sensation and precision of your carves.

Advancing to Linked Carves
Once you have mastered carves across the slope, the next step is to progress to linking your carves together. Here’s how to do it:
Find an easy beginner green run
Choose an easy beginner green run to practice linking your carves. These runs provide a gentle slope and ample space to experiment with the technique.
Ideal snow conditions for linking carves
Look for softer snow conditions when attempting to link your carves. Softer snow provides better grip and allows for smoother transitions between turns.
Arc the carves going down the slope
To link your carves, focus on smoothly transitioning from one carve to the next while descending the slope. Practice maintaining speed and control throughout the process.
Conclusion
Mastering carving on a snowboard takes time and practice, but with the right gear and technique, anyone can enjoy the thrill of riding the slopes. Start with the tips for first carves, gradually progress to carving across the slope, and eventually challenge yourself with linked carves. Remember to prioritize safety, always check for other riders, and have fun as you progress in your snowboarding journey. Happy carving!

Hi there, I'm Jesse Hull, the author behind AK Fresh Pow. "Shred The Knar There Bud" is not only our tagline, but also our way of life. As a Husband and Father, I embrace the thrill of conquering the slopes. Being a retired Infantry Paratrooper has taught me discipline and a love for adventure. Now, as a new snowboarder/skier, I'm embracing the freedom and adrenaline rush that comes with it. Alongside these passions, I am a full-time student at Alaska Pacific University in Anchorage, Alaska, continuously expanding my knowledge and skills. Join me on this exciting journey as we explore the beauty of the snowy mountains together.